object lesson: 3D printing with textiles
As part of DEAF (Dutch Electronic Arts Festival) this year, Piem Wirtz of V2_ curated the Crafting the Future Workshop. The idea was to get two very different disciplines together and see what would happen. There is a super video of the workshop online showing an overview of the two days.
Mili Tharakan and Mika Satomi came from the Swedish School of Textiles to provide different kinds of materials and fibres, and show us techniques. Joris van Tubergen and a group of self-diagnosed 3D printing addicts brought nine Ultimakers and gave us a crash course in using them.
I was lucky enough to be in a small group of sideways thinkers, including Leonie Urff, Anja Hertenberger and Lynsey Calder. Lynsey has also posted about this project on her blog. We also managed to interest Florian Horsch (currently a stagiaire at Ultimaker) enough to join our project, yay!
test: a visit to ultimaker
Florian's internship at Ultimaker was coming to an end, so I made a trip down to Geldermalsen to do a few more tests while he was still around. The Ultimaker HQ is in a pretty rural spot for city kids like me, but inside the building it was a hive of creativity. I wish I could've spent more time there...
Here are the results of our latest tests (pic by Florian):
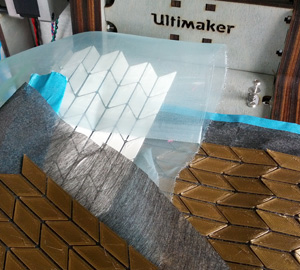
He made the pattern smaller, which allows for more repeats. There have also been some general improvements made to the Ultimaker itself, so that it doesn't have so much 'stringing' (connections between separate printed bits).
One important thing we learned is that we got lucky with the organza we used during DEAF. The white print in the photo is on a different kind of organza, and the PLA (polylactic acid) didn't stick well at all. We're not sure if this is because of the fibre content or the thread count, or perhaps something else. So this is definitely progress, but we need to go further...
test: first ideas
We started brainstorming at lunch, and wanted to make a textile that was built up out many small 3D printed elements that could lock together in different configurations. As with using most new technologies, there was a learning curve, and we didn't really get it to work the way we planned.
Here's our first attempt:
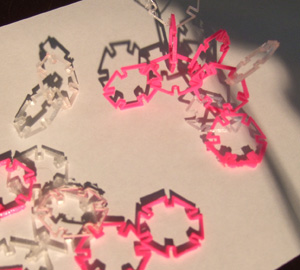 separate modules form a structure
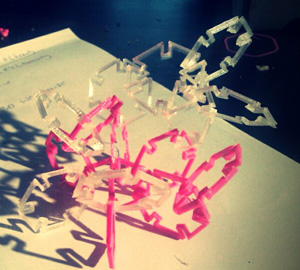 3D structure [pic: leonie]
We realised that the modular direction was probably a bit ambitious for a first project, so on the second day, we decided to try a different approach. Everyone loves origami, so we started playing around with some of the forms in Paul Jackson's marvellous Folding Techniques for Designers. David (developer of Cura) wrote us a wee program that generated the parellelogram shapes in the grid and we started our tests!
Our original plan was to use the holes to facilitate folding, either with a heat-shrinking polymer or perhaps just elastic. The first test (in black) was printed on non-woven iron-on interfacing which has a heat-activated glue on one face. The idea was to get the polymer to bond to the glue while it was still in molten state. This worked out pretty well, but needs more testing.
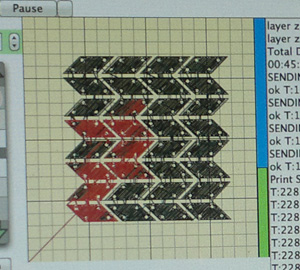 the preview [pic: anja]
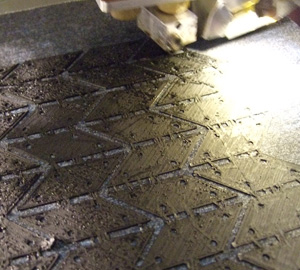 printing the first test
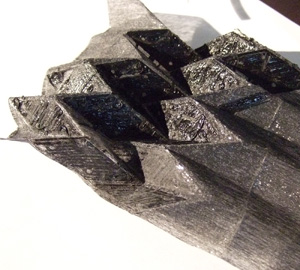 the first test folded
For our second test (in white), we wanted to try a woven fabric, and we found one that bonds pretty well to the printing. We all definitely want to take these tests further and will update this page when we have more to report!
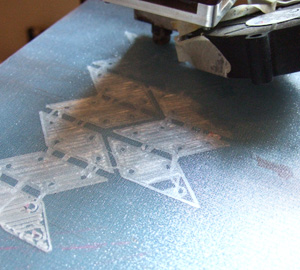 printing the second test
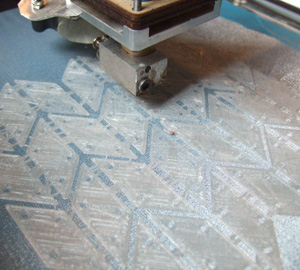 almost done!
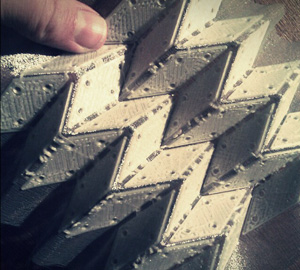 folded [pic: leonie]
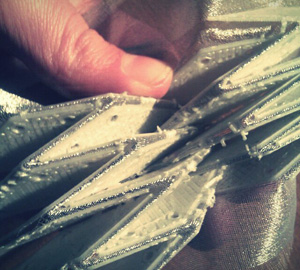 compresed [pic: leonie]
If this is your kind of thing, you should definitely check out Tine de Ruysser's folding explorations. I discovered her beautiful work recently and need to dive more into her Wearable Metal Origami thesis.