object lesson: wearable solar energy
One of my nerdier pastimes ;) is listening to science podcasts. Each week, The Naked Scientists features a "Kitchen Science" DIY experiment to try at home. This one shows how to make your own (very tiny) photovoltaic-solar-cell out of a diode!
When I saw it, I immediately thought of all those 3V coin cell batteries I go through with my small projects. It's possible to buy rechargeable versions of these batteries, so I decided to see if I could recharge them with solar energy - even better if it's wearable, extra points for including recycled components.
progress: testing
the batteries
| I | II | III | |
|---|---|---|---|
| description | Rechargeable Ni-MH Button | MS Lithium Rechargeable Battery | Rechargeable Ni-MH Button |
| photo |  |
 |
 |
| spec sheet | V 6 HR | MS621FE | V 18 HR |
| nominal voltage | 1.2V | 3V | 3.6V (3 x 1.2V) |
| start charge | 1.27V | 2.65V | 3.63V |
| after powering an LED for 24h | 1.27V | 2.45V | 2.5V |
| after charging 4.5h with solar panel C | 1.36V | ||
| after charging 4.5h with solar panel B | 2.63V | ||
| after charging 4.5h with solar panel A | 3.41V |
the panels
| solar panel A | solar panel B | solar panel C | |
|---|---|---|---|
| description | 11 naked diodes in series | 12 shrinkwrapped diodes in series | Commercial solar panel |
| photo | 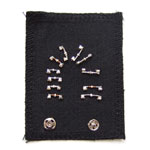 |
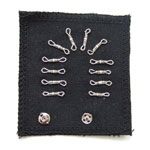 |
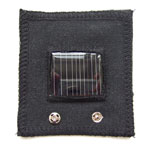 |
| charge in full sun | 3V | 2.5V | 4.6V |
progress: restart
Okay, okay, at the bottom of this page it might say I'll post my findings here July 2010 once I finish testing. Well it's the end of July and I haven't had time to do any testing! As of today, I'm restarting the project. I have hooked up all my batteries to LEDs to drain them, so that I can do a bit of (ghetto) testing. Meanwhile, I've been busy researching, and have found a bunch of interesting stuff about solar energy and rechargers, etc.
solar charging
There are quite a few instructions for building solar chargers online. Instructables has a bunch of very informative ones, including an Instructable for a basic solar panel using diodes! This Instructable uses different diodes to the ones I'm using, and they look much better, simply because they're more stable. I will definitely be including these in my tests. Very exciting!
I especially like these instructions as they start with the very basics and then adapt the designs to add more features. My solar charging circuits will start at the basic level for testing.
Over the next few weeks, I'm going to find out more about the things I've seen mentioned in my solar studies. When to use germanium diodes, how capacitors can help the recharging process, and if any of this even makes sense as applied to wearables.
first findings: naked diodes
I had a bunch of salvaged diodes that I had cut out of old TV sets, etc. I crushed the black plastic off them and then soldered crimping beads onto the legs. This was pretty time-consuming and created IMO particularly ugly little beads.
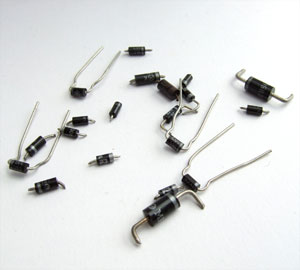 salvaged diodes
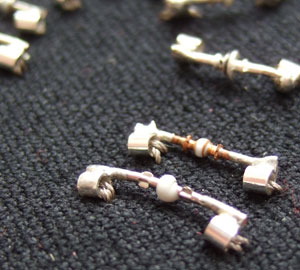 u-g-l-y, you ain't got no alibi
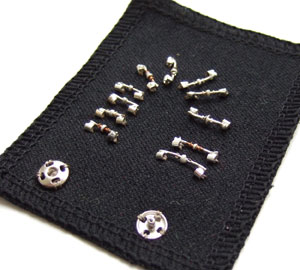 beaded panel, sewn in a series
In the spirit of experimentation, I bought some new diodes and crushed the black plastic off them and bent the legs to be sewn. I also happened to have a small solar panel that I decided to test as well.
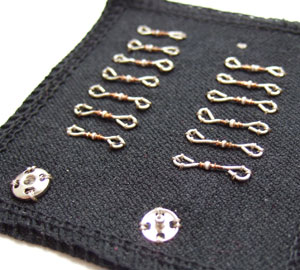 new diodes with bent legs
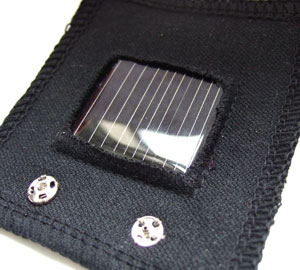 commercial solar panel
Here are my findings so far:
- it's very easy to snap the naked diodes in half where the white blob is, either while removing the casing or while preparing for sewing
- you have to connect them in series to build up enough voltage (duh!)
- not all black plastic diodes work, but most of the ones I used did
- not all "naked diodes" are equal. I had to remove one from the beaded panel in order to maximise the current
- if using salvaged diodes with short legs, solder a wire onto the leg before crushing the plastic
Things to test:
- strengthen the naked diodes with shrink-wrap
- how many in a series is optimum
- testing with rechargeable batteries